Overview
Creating a PixDeliver account is the first step toward delivering your photos to clients professionally. The whole signup process takes less than a minute and doesn’t require credit card details.Step by step
1. Go to the signup page
Instructions:- Open pixdeliver.com in your browser
- Click the Sign up button in the top right corner
- You’ll be redirected to the registration form
2. Choose a signup method
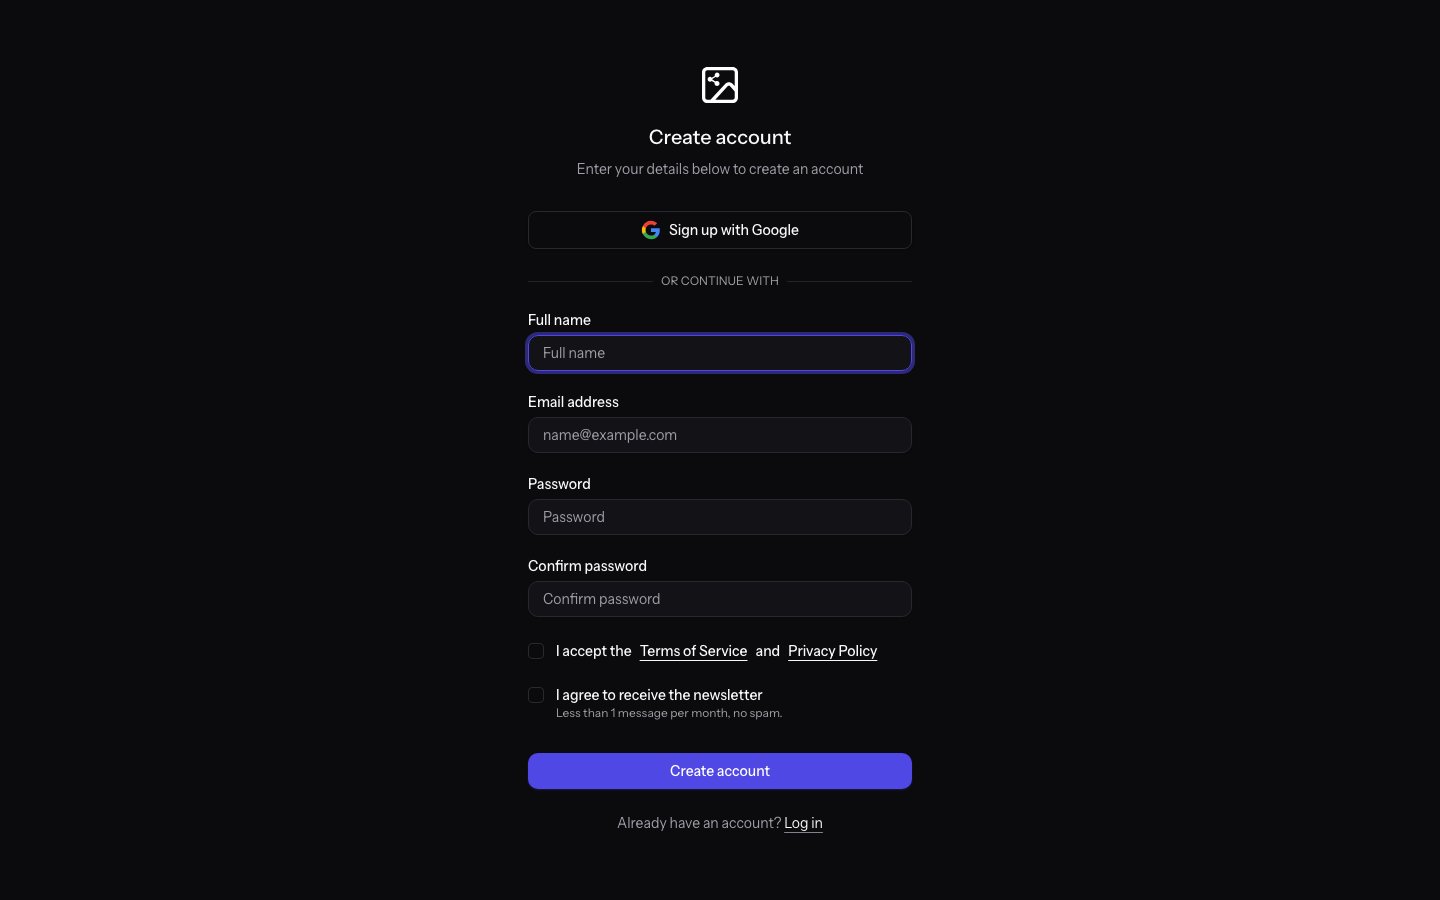
You can create an account in two ways: Option A: Sign up with Google- Click the Sign up with Google button
- Select your Google account and approve the permissions
- Your account will be created automatically
Option B: Sign up with email and password
- Enter your full name in the “Name” field
- Enter your email address - this will be your login
- Choose a strong password (at least 8 characters)
- Confirm the password in the “Confirm password” field
- Accept the terms of service (after reading them)
- Click the Create account button
Disposable email addresses are blocked. Signing up with a popular “temporary email” service (for example, for one-off verification) will fail — use a permanent personal or business email address. The same rule applies when changing your email address after signing up.
3. Verify your email address
Email verification usually isn’t required. Sometimes, for example if your traffic is suspected to be from a bot, you may be asked to verify your email address.
- Open your inbox
- Find the message from PixDeliver with the subject “Confirm your email address”
- Click the verification link in the message
- You’ll be redirected back to PixDeliver
4. First login
Instructions:- If you signed up with Google: click Log in with Google and select your account.
- If you signed up with email: enter your email address and password, then click Log in.
What you get after signing up
Once you create an account, you’ll have immediate access to:- The management dashboard - manage galleries, photos, and settings
- The ability to create galleries - with no limits (you only pay for activated galleries)
- Your own subdomain - the option to set a custom name (for example, your-name.pixdeliver.com)
- Statistics and analytics - full tracking of views and downloads
- Selection forms - let your clients pick their favorite photos
You only pay when you activate a gallery to upload photos and share it with clients. Creating an account is free.
Setting up two-factor authentication (optional)
For extra account security, you can enable two-factor authentication (2FA). Instructions:- After logging in, go to Settings → Security
- Click Enable two-factor authentication
- Scan the QR code in an authenticator app (such as Google Authenticator or Authy)
- Enter the code from the app to confirm the setup
- Save your backup codes in a safe place
Tips and best practices
✅ Recommended:- Use a strong, unique password for your PixDeliver account
- Enable two-factor authentication for better security
- Save your login details in a password manager
- Use a professional email address (ideally on your own domain)
- Store your 2FA backup codes in a safe place
- Using the same password as on other services
- Sharing your login details with others
- Saving your password in unsecured notes
- Ignoring the verification email
Troubleshooting
Problem: I didn’t receive the verification email. Solution:- Check the Spam and Promotions folders in your inbox
- Make sure you entered the correct email address
- Wait a few minutes - email delivery sometimes takes a little longer
- Use the “Resend verification email” option on the login page
- On the login page, click Forgot your password?
- Enter your email address
- Click Send reset link
- Open the email from PixDeliver and click the link
- Set a new password
- Check whether you already have a PixDeliver account
- Use the Forgot your password? feature to regain access
- If that doesn’t help, contact support
Related topics
- Account settings - Learn how to set up your profile and subdomain
- Creating your first gallery - The next step after signing up