
Overview
After uploading your photos, you can organize them freely: change the display order, set the gallery’s cover photo, and delete photos you don’t need. A well-organized gallery looks professional and makes it easier for clients to browse the photos.Changing the photo order
By default, the system displays photos in the order they were uploaded.
Drag-and-drop method
Instructions:- Open the gallery in the management dashboard
- Find the photo you want to move
- Click and hold the photo
- Drag it to the spot you want
- Drop the photo
- The order is saved automatically
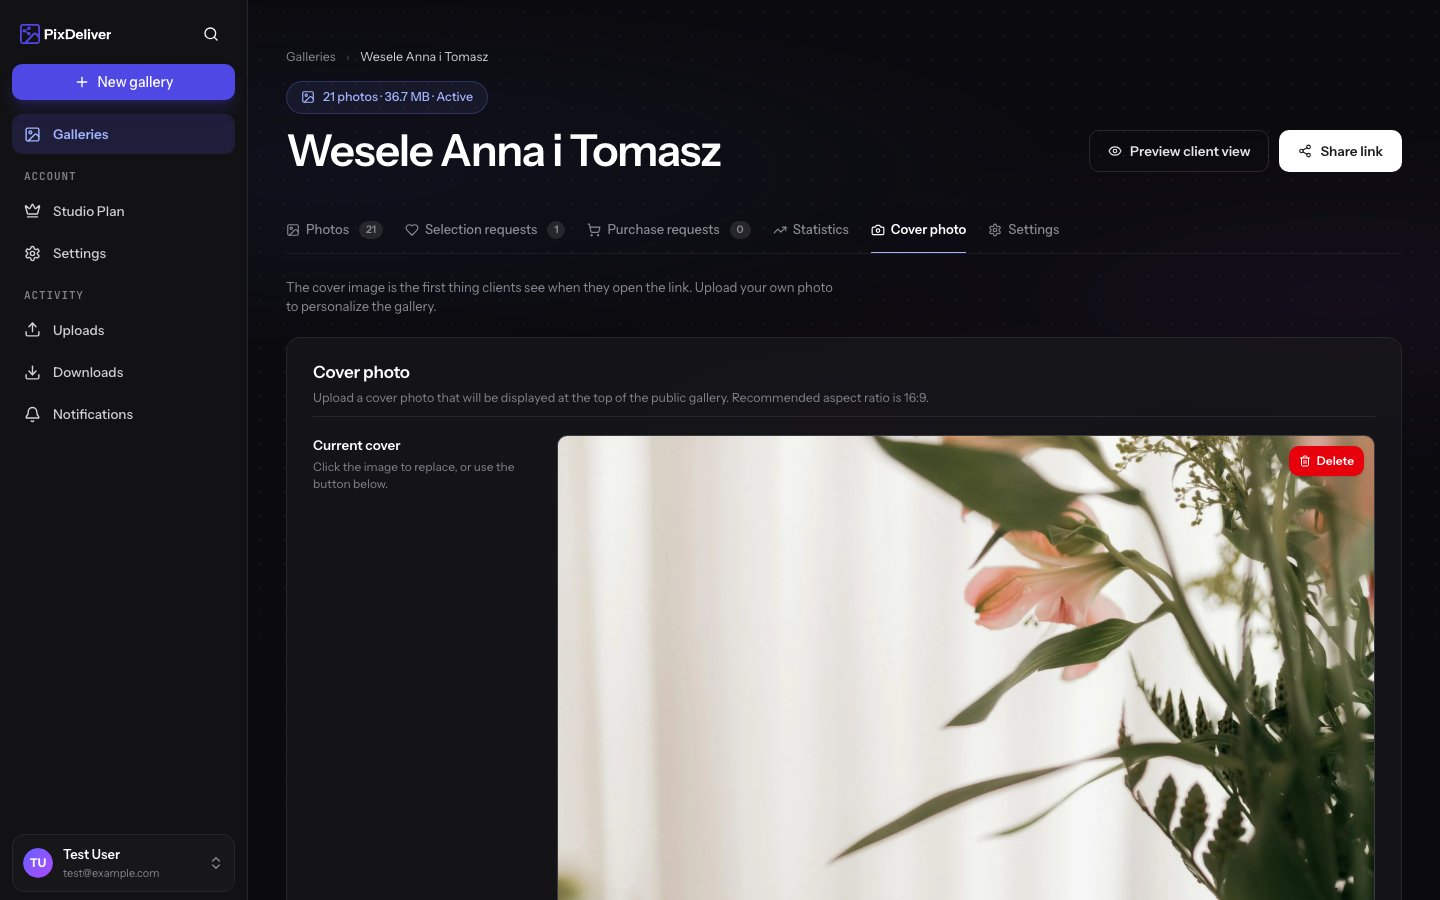
Setting a cover photo
The cover photo is the first photo clients see when they open the gallery link. It’s also shown as the thumbnail in gallery lists.Choosing a cover photo
Instructions:- Open the gallery in the management dashboard
- Go to the “Cover” tab
- Upload a cover photo that will appear at the very top of the gallery
Deleting photos
Deleting a single photo
Instructions:- Open the gallery in the management dashboard
- Find the photo you want to delete
- Hover over the photo
- Click the dropdown menu icon and then the Delete button
- Confirm the deletion in the dialog box
Deleting multiple photos (bulk delete)
If you want to delete several or even dozens of photos at once: Instructions:- In the gallery view, click the Select photos button or the selection button
- Select the photos to delete (click each one)
- You can also use the options:
- Select all - selects all visible photos
- Deselect all - deselects everything
- Click the Delete selected button (it appears after you select photos)
- Confirm the deletion in the dialog box
Gallery preview
Before sharing a gallery with clients, it’s worth seeing how it will look from their perspective. Instructions:- In the gallery view, click the Preview gallery button
- A new tab will open with the client view
- Browse the gallery just like your clients will
- Check:
- The photo order
- The cover photo
- The loading speed
- The lightbox display
- Responsiveness (resize the window)
Preview mode shows the gallery exactly as clients will see it - including the password (if set) and all the download features.
Best practices
✅ Recommended:- Set the photo order before activating the gallery
- Arrange the photos in a way that tells a story
- Delete photos that are blurry, repetitive, or didn’t turn out
- Set a cover photo that represents the set of photos
- Use the preview before publishing
- Keep it balanced: not too many, not too few photos
- Adding photos in a random order
- Putting weaker photos at the beginning
- Leaving in unsuccessful photos “just in case”
- Creating galleries with hundreds of very similar photos
- Setting an abstract or unclear photo as the cover
- Frequently rearranging the layout after sharing it with clients
Troubleshooting
Problem: I can’t change the photo order. Solution:- Check whether you’ve enabled Sorting
- Make sure you’re dragging the photo, not just clicking it
- Try refreshing the page (Ctrl+F5)
- Refresh the browser page
- Clear your browser cache (Ctrl+Shift+Delete)
- Wait a few minutes for the changes to propagate
- Make sure the photo was processed correctly
- Unfortunately, deletion is irreversible
- You can upload the photo again from a backup
- Always keep the originals on your local drive
- Check whether you’re using a supported browser (Chrome, Firefox, Edge, Safari)
- Update your browser to the latest version
- Disable any browser extensions that might block scripts
Related topics
- Uploading photos - How to add photos to a gallery
- Gallery settings - How to edit a gallery’s settings
- Sharing galleries - How to send a gallery to clients
- Creating a selection - Let clients pick their favorite photos